Showing posts with label layout. Show all posts

Friday, August 14, 2020

URBAN PROGRESS

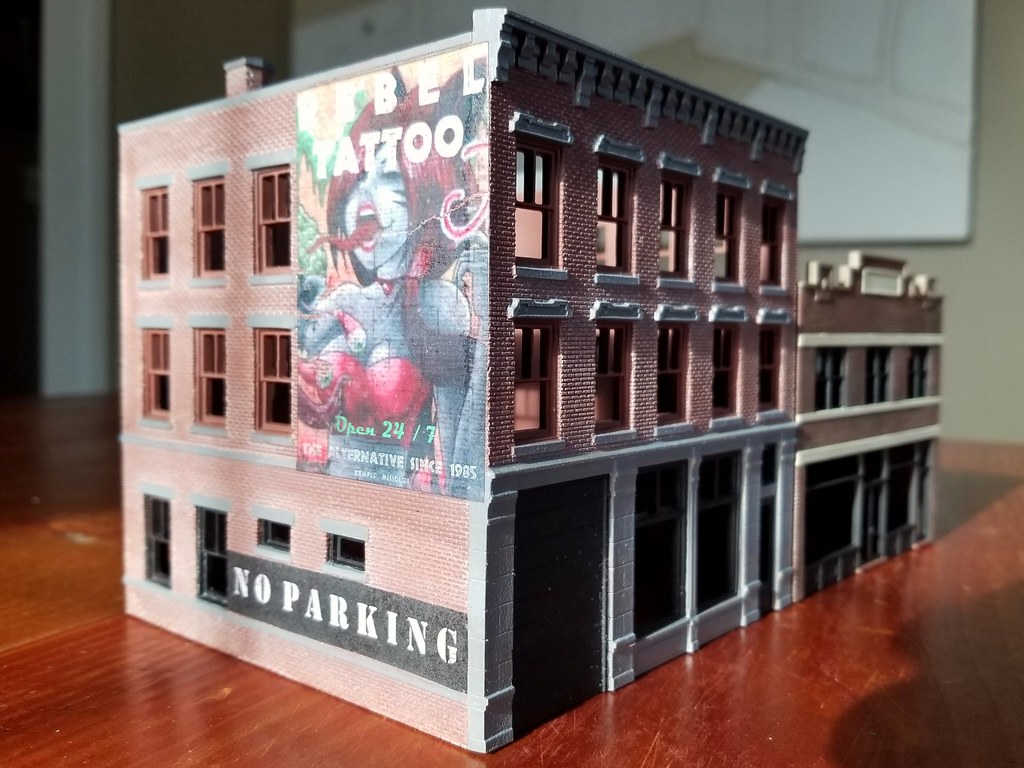
There's been some progress around Kemper lately, mostly concerning the tattoo parlor and the Industrial Avenue area. Rebel Tattoo is basically finished after I added awnings, weathering, graffiti, black cardboard interior blocking, and electrical service. Being the perpetual 12-year old that I am, I couldn't resist adding my own off-color "artwork" as well, in addition to two murals of some television/film icons. The only thing left is some weeds and dirt to "plant" it onto the layout.


The awnings were simply folded out of heavyweight paper, then glued to the structure with CA, while the power conduits were some slightly oversized wire with brass brackets mounted to the building. Downspouts were made with styrene rod held the same way. Because my layout is so high by design, the roof didn't get much detailing other than an access hatch. I had to finally say it's "good enough" otherwise this thing would have toilets and running water...

 
Heading into town on Industrial Avenue will give you a glimpse of some other creative graffiti that adorns this prime bit of real estate. I tried to recreate what I spotted in an urban exploration video, but of course, the original is a little bit spookier than mine. 
 
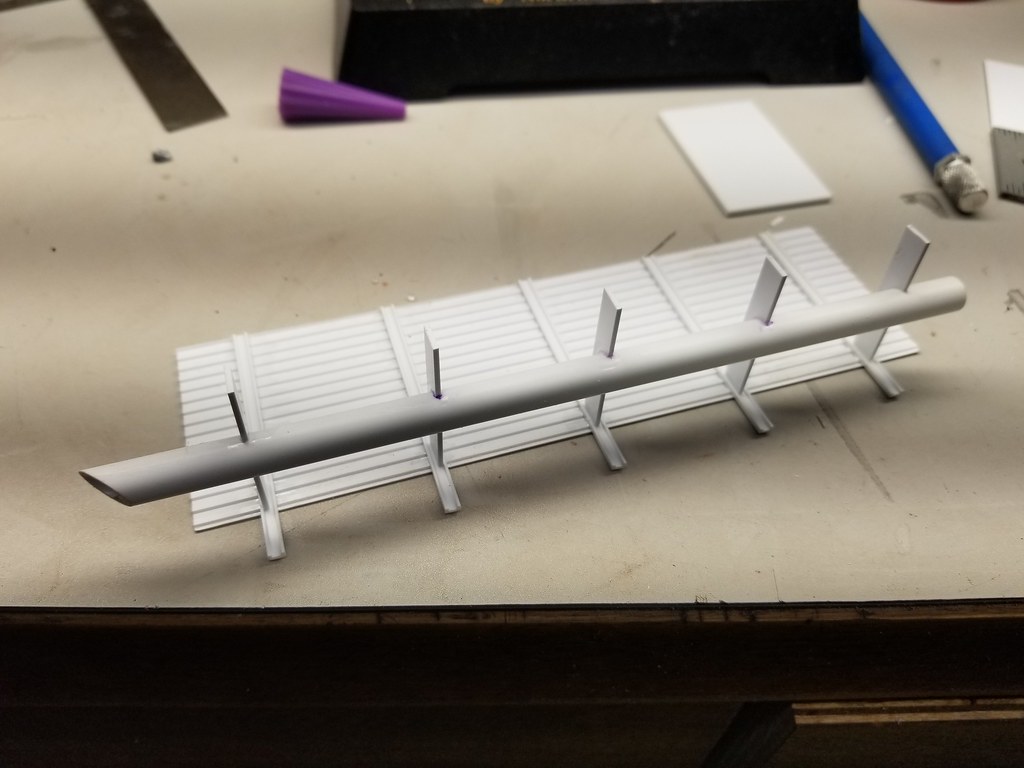
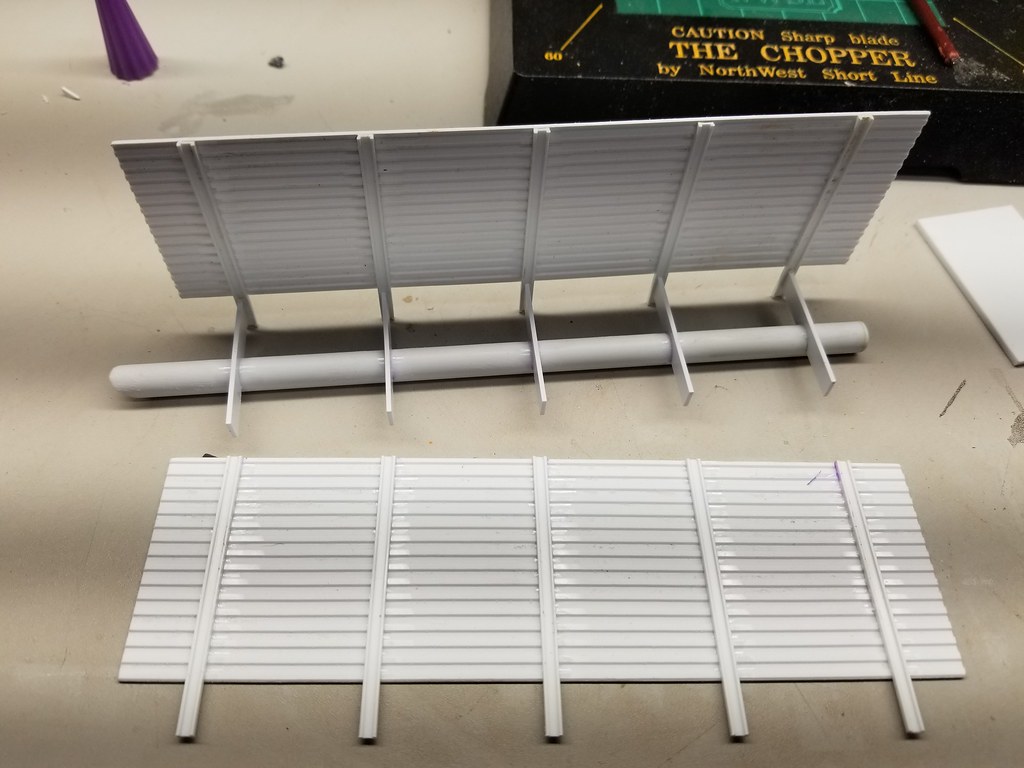
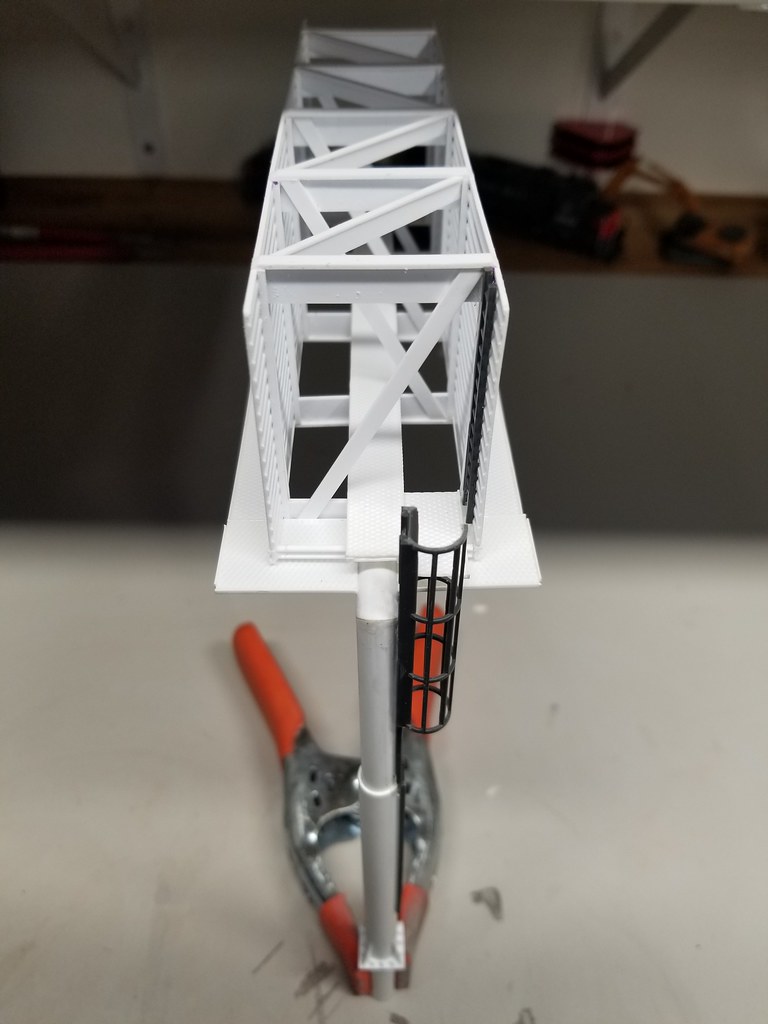
And finally, I had a chance to sit down and build something that I've had taking up space in my head for a month. No plans used other than the basic 14'x48' dimensions, plus standard styrene shapes and patterns that I had available.


Finished with rattle can brown primer and Tamiya semi-gloss. The graphics were laid out using MS Word, then glued to the billboard with contact adhesive.
 
For those pedantic individuals at home, this is officially termed a "Full Flag, Back to back"-type advertising structure. WATKINS is also a legitimate marketing firm in Missouri, for geographic accuracy!


(Note: The intersection is real, but everything else is fictional)
 
 
I fumbled a bit on one of these billboards, but I won't say which one. I'm sure there's a prototype for it somewhere, though!

Maybe I'll move on to some rolling stock or locomotive projects by the next update...

Thursday, May 21, 2020

WELCOME TO KEMPER

Over the past couple months, I managed to get some work done on an area that's been a dead spot of sorts on the railroad. My track plan is basically a figure-8/shelf design with two duck-unders for the turnback loops, so this area was always a little bit harder to work on. Even with using a stepladder I knew it would be a pain. 

Anyways, here's what I've done so far for the (fictional) town of Kemper, Missouri.


REBEL TATTOO front w/ mural


The large awning was printed on paper as well, then folded and glued to the structure. I've added awnings to some windows but I still need to add downspouts and a few other details before I add final weathering. More pictures to follow...

 
REBEL signage


The tattoo parlor's signage was made using two different methods. "Zombie Girl" above and including NO PARKING were printed on paper using my Laserjet. The paper was then moistened with my fingertip and rubbed away until the image was nearly transparent, then applied with thinned white glue. I don't think I've added any matte finish yet and I'm not too disappointed with how she turned out. There is a slight crack in the paper but it's barely noticeable.


The murals and advertisements pictured above of the "amorous ladies", "Cutty Sark Whisky" and "Bombs Away" were printed on actual decal paper using my Laserjet, then coated with decal film from Microscale and applied as usual. Before printing, I  adjusted the transparency on the Cutty Sark advertisement to give it an aged look, too. Weathering will probably tie everything together. I think I'd have a lot of fun in this part of town...

ROAD CONSTRUCTION AHEAD!
How else would they get to the tattoo parlor?

As seen below, this is part of the Kemper Industrial District so I'm trying to get that grungy, industrial look.


"Street View"


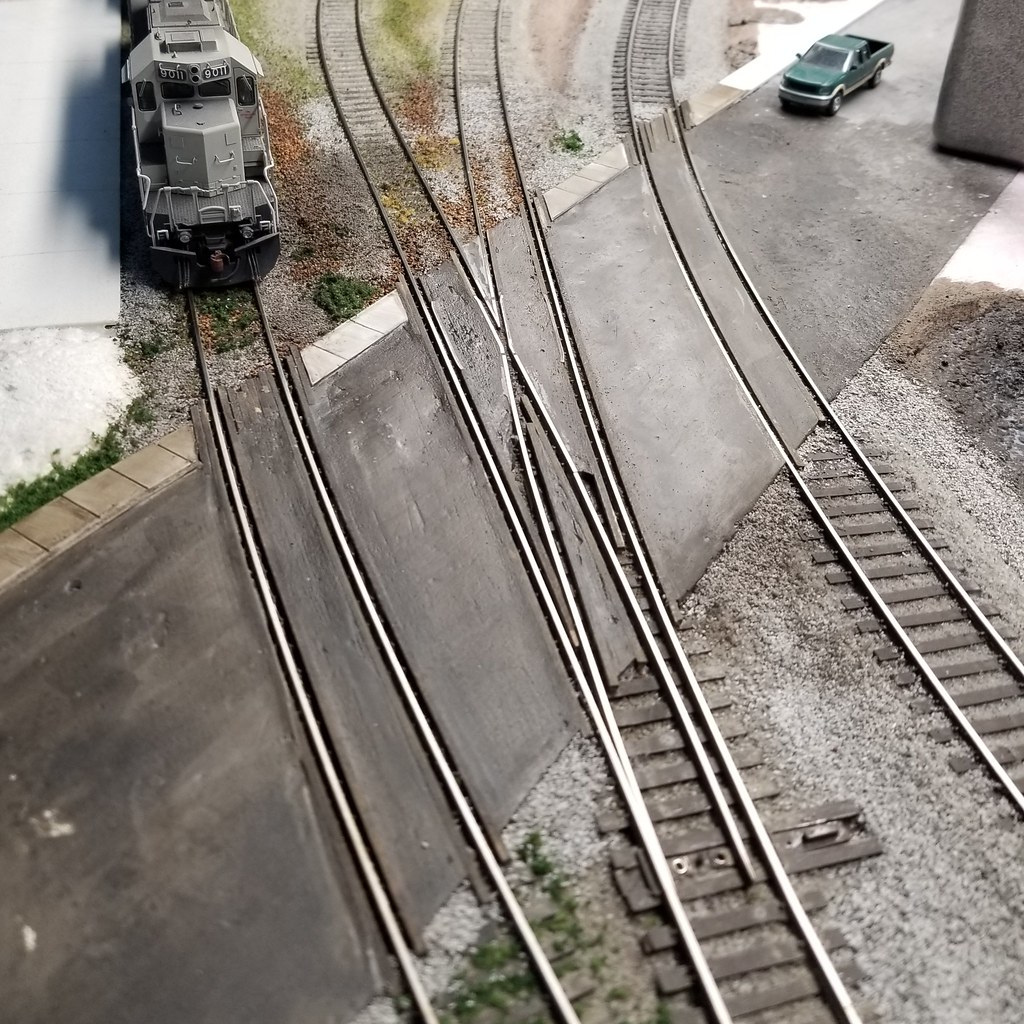
The pavement is my own blend of setting-type compound (45 minute) and black unsanded tile grout, using 1/16" basswood to form flangeways. I DO NOT use joint compound because of the excessive drying time, so this stuff is sold along with the drywall supplies, typically labeled with anywhere from 5-20-45-90 drying times. The ratio varies depending on how closely I pay attention, but it's probably around 3 parts compound-to-1 part grout.


The Local tied down for beans at Kemper, Missouri.

In a few hours, I carved out the flangeways and sharpened the shoulders, then gave everything, including the styrene sidewalks, a wash of black/brown India ink. The turnout complicated things but I'm content with how everything looks for now.